
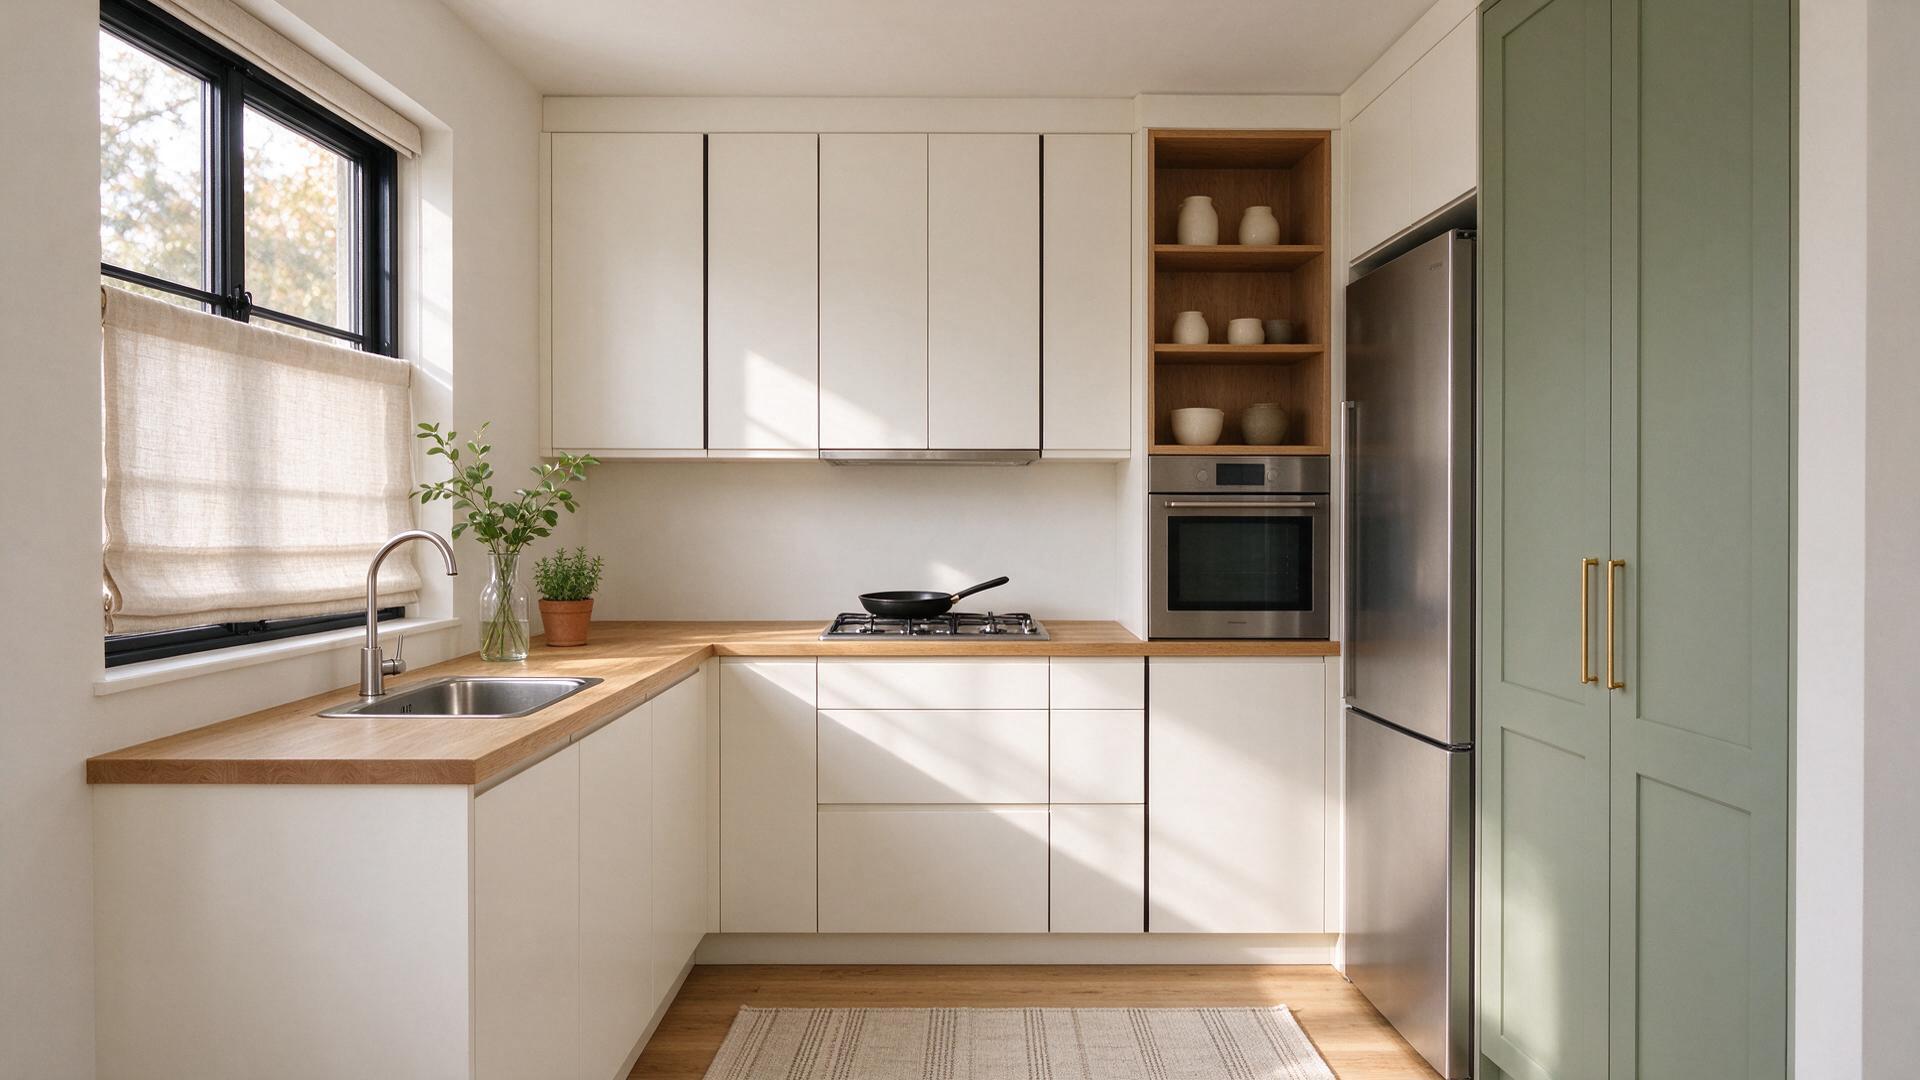
Small Kitchen Remodel: Layouts, Costs, and Visual Planning Guide
Plan your small kitchen remodel with realistic layout adjustments, clear budget ranges, and practical visual planning steps before hiring a contractor.
A successful small kitchen remodel balances square footage, workflow efficiency, and trade-off decisions before purchasing materials or tearing down drywall. Remodeling a compact kitchen under 100 square feet usually requires working within rigid architectural constraints: immovable plumbing stacks, radiator pipes, or load-bearing partitions. Rather than attempting to fit oversized luxury features into a modest footprint, the goal is optimizing layout geometry, vertical storage, and surface reflections to expand working space and visual breathing room.
What Defines an Efficient Small Kitchen Remodel?
An efficient small kitchen remodel is the strategic reconfiguration of storage, counter space, and appliance placement within a compact room to optimize cooking ergonomics without structural expansion. The standard standard work triangle—connecting the sink, cooktop, and refrigerator—remains the baseline, but compact floor plans prioritize straight runs, clear counter prep zones, and continuous lines.
Compact kitchens fall into three common structural layouts:
- Galley Kitchens (Two Parallel Runs): Excellent workflow density, but requires adequate aisle space between counters to allow appliance doors to open fully.
- L-Shaped Kitchens: Ideal for corner utilization and open-concept transitions, freeing up adjacent wall space for a small dining bistro or pantry cabinet.
- Single-Wall (I-Shaped) Kitchens: Common in studio apartments and narrow townhomes, relying heavily on built-in tall vertical cabinetry to make up for lost horizontal surface area.
Before spending money on demolition, examining real-world transformations in our detailed small kitchen remodel before and after breakdown can reveal how physical boundaries dictate functional layouts.
Four Layout Principles for Tight Kitchen Footprints
When renovating a limited cooking zone, every square inch of counter space and cabinetry must serve dual roles. Focus on these structural adjustments:
1. Run Cabinets to the Ceiling
Standard wall cabinets leave a 10- to 12-inch gap above the crown molding that collects dust. Replacing them with 42-inch tall upper cabinets or stacking two rows of wall units yields extra dry storage. Use the highest shelves for seasonal items, specialized bakeware, or excess pantry staples.
2. Recess or Panel Downsized Appliances
Standard American refrigerators measure 36 inches wide and roughly 30 to 34 inches deep, which can swallow the main walking path of an apartment kitchen. Opting for a counter-depth model (24 to 28 inches deep) or a 24-inch European-style tall refrigerator keeps the sightline unbroken. Similarly, choosing an 18-inch dishwasher over a standard 24-inch unit saves half a foot of base cabinet space for spice pull-outs or trash recycling centers.
3. Clear the Countertop with Integrated Storage
Counter space is the first casualty in a compact kitchen. Minimize clutter by moving microwaves into lower base cabinets or installing under-cabinet task lighting to avoid dark prep corners. Adding continuous quartz or solid-surface backsplashes behind the stove eliminates visually busy grout lines, making the entire cooking wall feel wider.
4. Create Unbroken Floor Sightlines
Continuous flooring material stretching from the kitchen into adjacent dining or living areas tricks the eye into seeing a unified, larger room. Avoid high-contrast floor borders or oversized tiles that force awkward edge cuts along tight base cabinets.
How Much Does a Small Kitchen Remodel Cost?
The cost of a typical small kitchen remodel (under 100 sq. ft.) in the United States varies widely depending on whether fixtures stay in place or structural plumbing and electrical circuits must move., depending on whether fixtures stay in place or structural plumbing and electrical circuits must move.
| Expense Category | Refresh / Cosmetic ($12,000–$18,000) | Mid-Range Renovation ($18,000–$28,000) | Full Custom Overhaul ($28,000–$38,000+) |
|---|---|---|---|
| Cabinetry | Cabinet refacing, new hardware | Semi-custom stock boxes, soft-close | Fully custom floor-to-ceiling millwork |
| Countertops | Butcher block, laminate, entry quartz | Mid-grade engineered quartz, granite | High-end porcelain slabs, marble |
| Appliances | Keeping existing or basic appliance suite | 24-in. counter-depth stainless steel suite | Built-in panel-ready integrated appliances |
| Plumbing & Gas | Fixture swap only (sink/faucet) | Keeping lines in place, minor valve updates | Moving sink, updating drain stack or gas run |
| Permits & Labor | DIY / basic handyman support | Licensed trade contractors (carpenter/plumber) | General contractor, architectural permits |
Keeping appliances and the sink in their original locations avoids expensive plumbing rough-ins and wall patching, protecting your contingency reserve.
Step-by-Step Small Kitchen Remodeling Framework
Executing a kitchen project smoothly requires sequencing tasks logically to prevent trade bottlenecks and expensive rework.
[Phase 1: Measurement & Visual Planning]
  └── Accurate laser measurements -> Layout testing -> Aesthetic render visualization
[Phase 2: Sourcing & Permitting]
  └── Cabinet ordering (6–10 week lead time) -> Appliance delivery verification
[Phase 3: Demolition & Rough-In Trades]
  └── Wall tear-out -> Electrical circuits -> Dedicated 20A kitchen feeds -> Plumbing
[Phase 4: Surfaces & Installation]
  └── Drywall -> Flooring -> Base/Wall Cabinets -> Countertop templating & install
[Phase 5: Finish & Trim]
  └── Backsplash tile -> Lighting fixtures -> Plumbing trim -> Punch list
- Laser Measure Every Dimension: Measure wall lengths at the baseboard, counter height, and ceiling height, because historic walls are rarely square. Note window sill depths and plumbing stack locations.
- Generate Realistic Concept Directions: Before committing to a specific color palette or cabinet style, visualize finishes against your exact architectural conditions. You can upload a photo of your existing space to Roomagic to test layout interpretations across 35 design styles. Users can generate up to four redesign directions for the same uploaded room photo, helping you compare modern minimalist slab cabinets against traditional farmhouse profiles without spending hundreds on design consultations.
- Order Cabinets Before Demolition: Semi-custom cabinets often require extended lead times. Never swing a sledgehammer until your cabinets have shipped, or you may face months without a functional kitchen.
- Complete Rough Mechanicals: Install dedicated 20-amp small appliance branch circuits required by modern building codes, and ensure plumbing shut-off valves are accessible inside base cabinets.
- Drywall, Flooring, and Cabinet Setting: Install level subflooring and set base cabinets true to laser lines. Shimming cabinets properly guarantees seamless stone countertop installation.
- Counters, Backsplash, and Punch List: Complete countertop templating, seal stone surfaces, run backsplash tile to the underside of upper cabinets, and hook up appliances.
To assess feasibility without immediate commitment, homeowners can use free interior design planning tools at roomagic.me/tools to organize layout notes and dimensions.
Visualizing Styles Before Committing to Construction
Color choices fundamentally alter perceived dimensions in tight quarters. Light tones reflect ambient illumination, while deep hues can either add cozy architectural depth or swallow visual space if poorly lit.
When uploading space photos to Roomagic's residential interior pipeline, new accounts receive 30 free credits on sign-up without requiring a credit card. This allows you to produce standard renders, to check how specific textures interact with your space.
Each generated image can provide an AI design report outlining key decisions, a design concept, material recommendations, and a budget snapshot. This report can serve as a talking point when discussing feasibility with local cabinet makers or tile setters. You can also review completed public transformations in the community Explore gallery to observe how other homeowners approached narrow footprints.
Frequently Asked Questions
What is the most functional layout for a small kitchen?
For narrow, enclosed rooms, a galley layout offers the most functional counter prep run by organizing cooking and cleaning across two opposing linear surfaces. If the room has an open side connecting to a living area, an L-shaped kitchen provides superior workflow and leaves room for secondary dining.
Can you put an island in a small kitchen?
Generally, a standard kitchen island requires at least 36 to 42 inches of perimeter clearance on all sides. Consider a 24-by-36-inch rolling prep cart or a narrow butcher block table with locking casters instead.
How can I make a small kitchen look and feel bigger?
Incorporate full-height upper cabinetry that matches your wall color, use under-cabinet LED strip lighting to eliminate shadows on backsplashes, install a counter-depth refrigerator, and choose continuous large-format flooring without busy grout lines.
What are the main small kitchen remodel mistakes to avoid?
The most frequent mistakes include failing to account for appliance door-swing clearances, choosing oversized American-scale appliances that overwhelm narrow walkways, neglecting task lighting over the prep sink, and starting demolition before confirming cabinet delivery dates.