Design Concept
Walnut-Front Credenza Corner
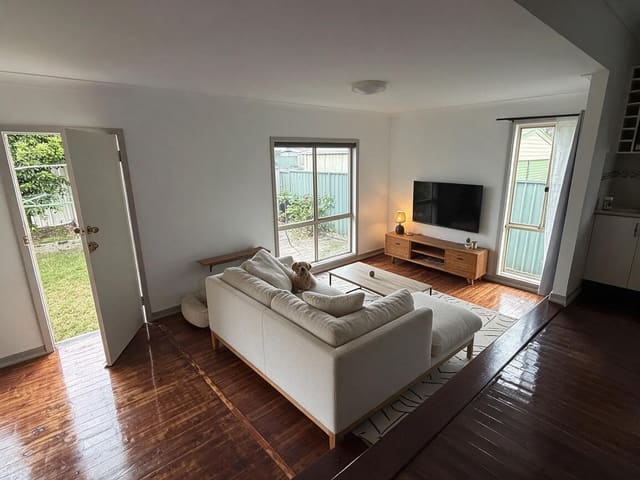
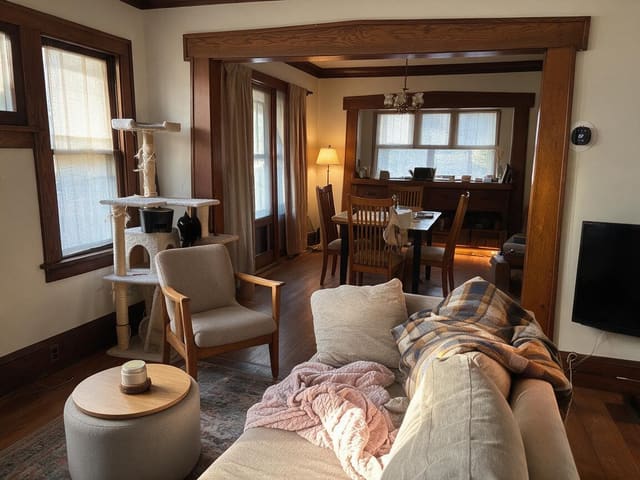
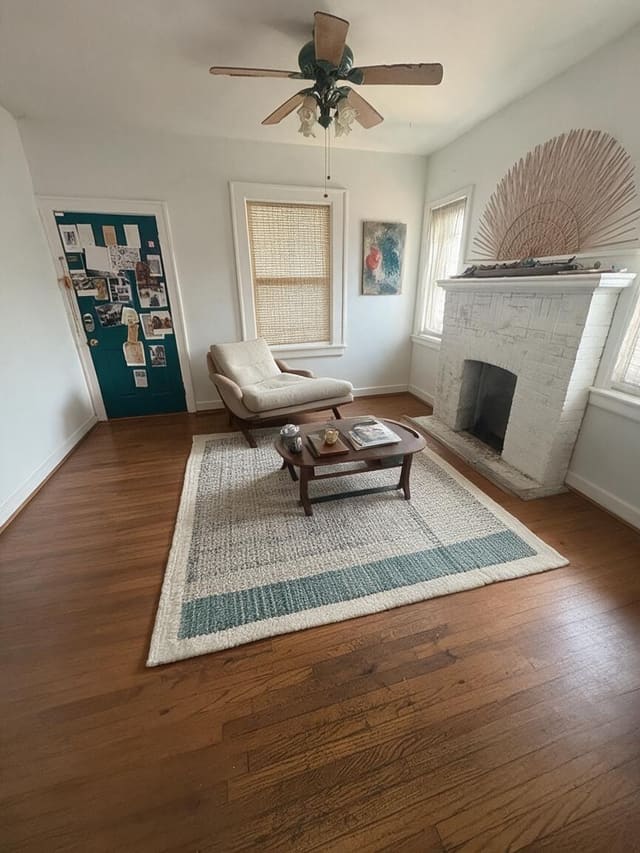
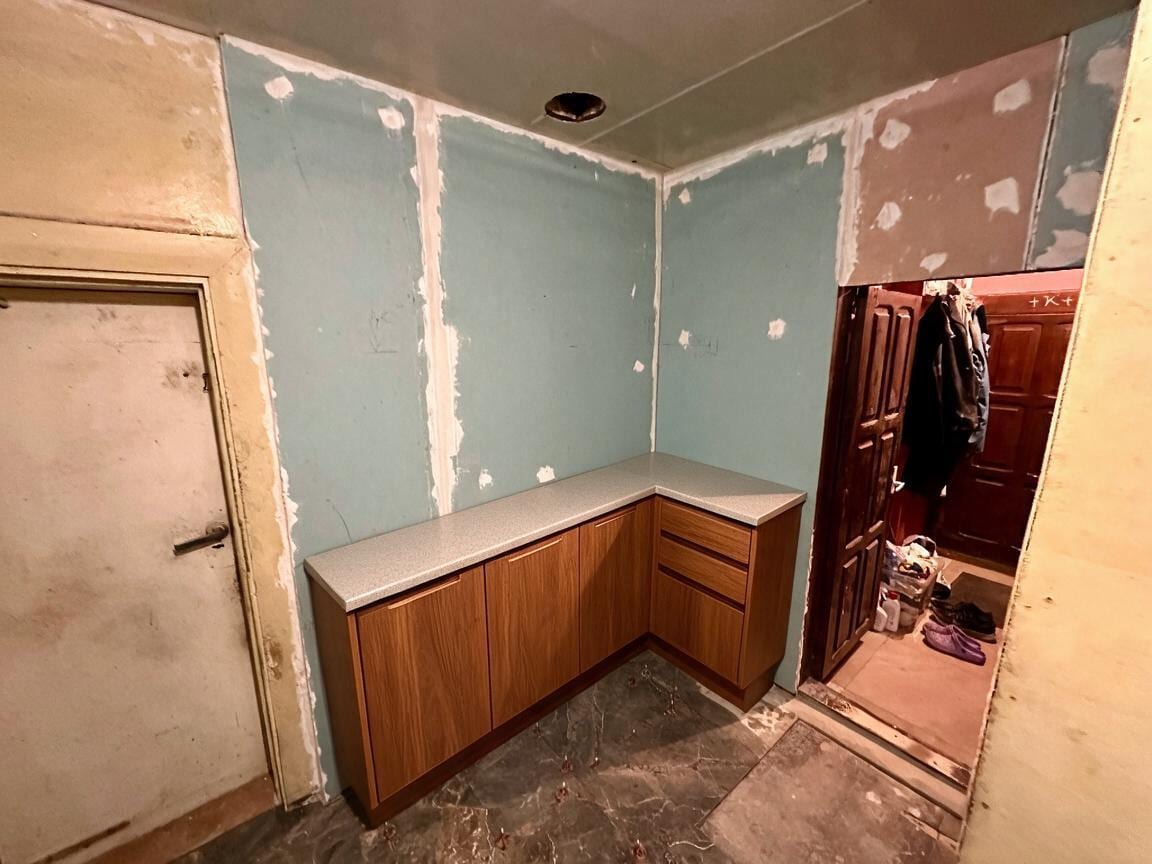
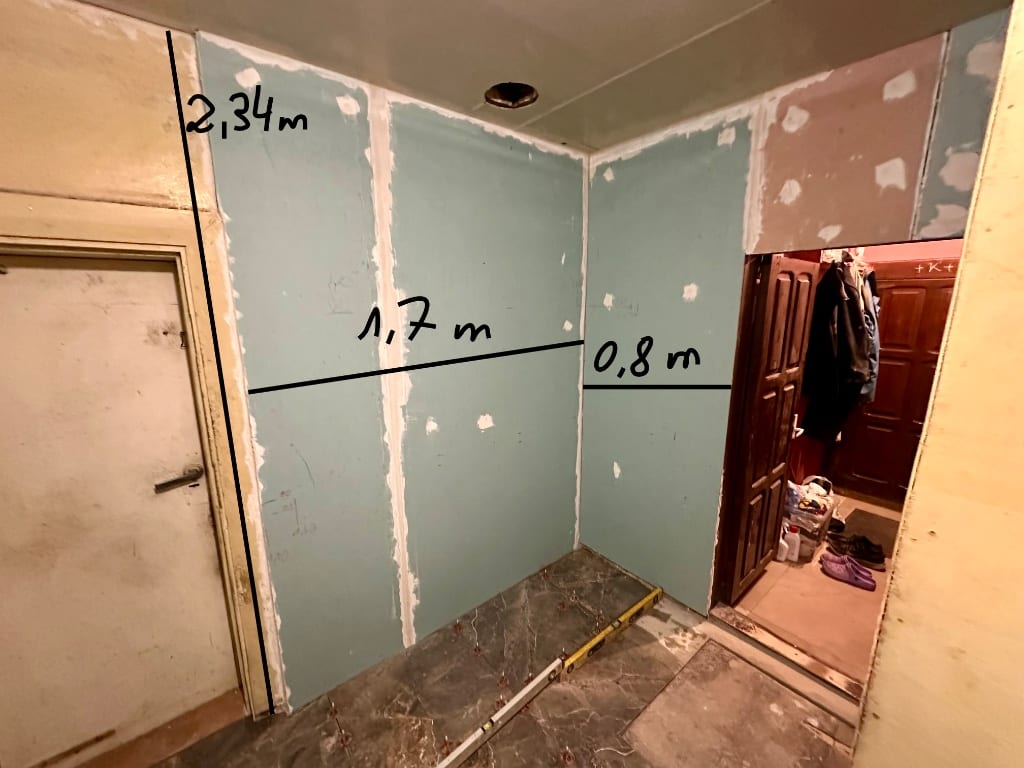
The central challenge is a raw, corner-dominated Living Room zone caught between an exterior door and an interior passage, with patched drywall and no visual anchor. The design intent is to impose midcentury order through a low, horizontal L-shaped credenza that hugs the corner, extending usable surface while concealing clutter. The walnut-look fronts and terrazzo-pattern top introduce warmth and period-appropriate texture against the cool, unfinished walls. By keeping all elements freestanding and below counter height, the solution preserves ceiling openness, respects the soft-renovation constraint, and creates an intentional "landing strip" for keys, bags, and daily objects. The visible result is a defined, furniture-grounded moment that reads as designed rather than leftover.
Key Decisions
- L-shaped credenza configuration — maximizes corner real estate for surface area and storage volume while maintaining clear passage to both doors.
- Low-profile horizontal form — keeps sightlines open across the compact footprint and avoids competing with the ceiling fixture or door frames.
- Warm wood tone against cool wall patches — deliberately contrasts the existing blue-gray drywall to distract from unfinished surfaces and establish midcentury warmth.
- Terrazzo-look laminate top — provides a durable, wipeable work surface that references period materials without requiring custom fabrication.
Material Plan
| Item | Role | Est. Price | Where to Buy |
|---|---|---|---|
| L-shaped credenza with walnut fronts | Primary storage and surface anchor; defines the corner functionally and visually | $380-650 | IKEA (Bestå custom combo), Wayfair (Mid-century modular), Amazon (Walker Edison L-desk adapted) |
| Terrazzo-look laminate countertop panel | Durable, period-appropriate work surface; cut to fit credenza top | $45-85 | Home Depot, Lowe's (in-stock laminate), IKEA (Ekbacken or Säljan) |
| Adjustable LED puck lights (3-pack, battery or plug) | Under-cabinet task lighting for the shadowed corner; no wiring needed | $25-55 | Amazon, Walmart, Target (Energizer/GE wireless pucks) |
| Round mirror with thin brass frame | Vertical accent above credenza; reflects light from doorway and expands perceived space | $40-90 | Target (Project 62), IKEA (Stockholm/Langesund), Wayfair |
| Woven jute or wool runner | Softens stone-look flooring, defines the zone, adds organic midcentury texture | $60-120 | IKEA (Lohals), Amazon (nuLOOM jute), Target (Threshold) |
| Ceramic table lamp with tapered base | Warm ambient light on credenza surface; sculptural period detail | $35-75 | Target (Hearth & Hand, Project 62), Wayfair, IKEA (Tärnaby-style ceramic) |
Budget Snapshot
| Category | Est. Cost |
|---|---|
| Primary furniture (credenza, top) | $425-735 |
| Lighting (pucks, lamp) | $60-130 |
| Textiles and surfaces (runner, accessories) | $60-120 |
| Wall accents (mirror, small decor) | $40-90 |
| Total estimated range | $585-1,075 |
Implementation Note
Measure the corner angle precisely before ordering or assembling the credenza; many standard L-shaped units assume 90 degrees, but older construction often settles to 88-92 degrees. Leave a 1-inch gap behind the unit for the puck light wiring and to accommodate wall unevenness without scuffing the finish.